
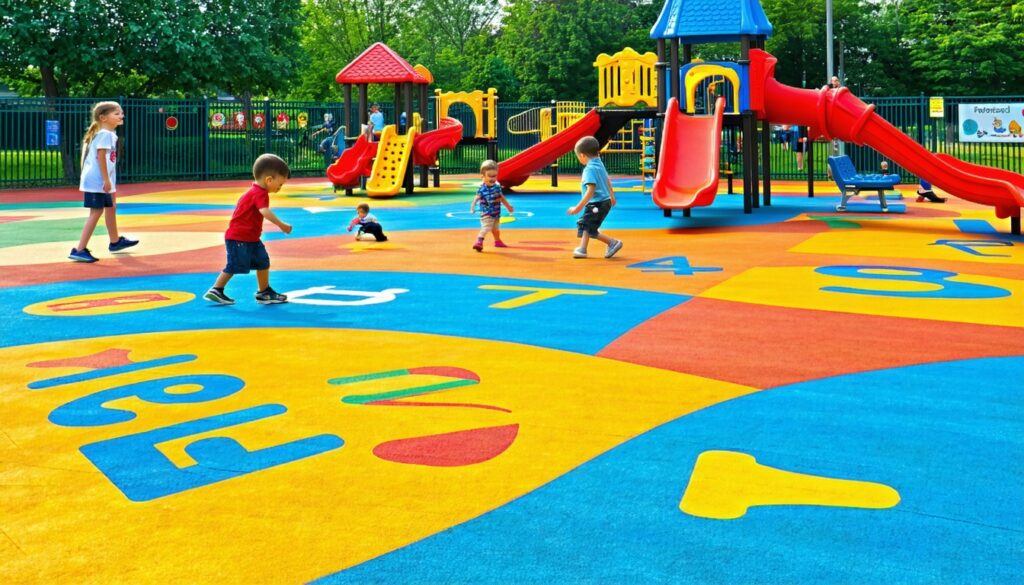
Your playground can do more than host games. With thermoplastic playground branding you can add custom logos that last years, boost school identity and support learning zones. Project Playgrounds has fitted thermoplastic markings in over 1500 junior and primary schools across the UK and Europe. High-quality thermoplastic is UV resistant and non-slip, and comes with up to a 10-year guarantee (subject to surface conditions). Good news, this is easier than it sounds.
Key idea: With a clear plan and quality thermoplastic you can add safe, durable logos that transform your playground into a vibrant, branded learning space.
Understand thermoplastic surface markings
What are thermoplastic playground markings?
Thermoplastic is a blend of pigment, glass beads for grip, and resin. Heated on site, it melts into cracks and sets hard within minutes. The result is a bright, long-lasting surface that stands up to foot traffic and weather.
Why choose thermoplastic for branding?
Compared to paint, thermoplastic markings hold their colour and shape for much longer. A 10-year lifespan is common, based on proper maintenance (see thermoplastic lifespan uk). Added glass beads give non-slip properties, and UV-resistant formulas keep hues vibrant under sun exposure. For playground managers, fewer touch-ups mean lower costs and fewer disruptions.
Plan and design your custom logo
Align with educational goals
Start by linking your design to learning outcomes. For example you could highlight letters, numbers or science themes to reinforce lessons during play. Good design balances branding and education so children get playful learning at every step.
Choose colours and themes
School colours and logos build identity, but a little contrast helps visibility. Stick to two or three complementary shades. If you want a themed look, explore themed playground designs for ideas. Remember to keep shapes simple so they remain clear as the surface weathers.
Select durable thermoplastic materials
Compare thermoplastic and painted lines
Painted markings generally fade within one to two years, requiring periodic recoats. Thermoplastic vs painted solutions show a clear difference: the former needs less maintenance and resists chipping. That means your branding stays intact longer and budgets go further.
Check quality and guarantees
Look for suppliers that offer a guarantee of up to 10 years on their materials, subject to surface conditions. Project Playgrounds provides this level of assurance on all installations. Always verify that the thermoplastic you select meets national standards for wear and slip resistance. If you need extra grip in wet areas, ask about anti-slip thermoplastic safety coatings.
Follow safe installation and maintenance
Installation best practices
Site preparation is key. Your tarmac or concrete should be clean and crack-free. Apply thermoplastic when temperatures are above the supplier’s minimum (often 10°C or higher) to ensure proper adhesion. For a step-by-step process, see our thermoplastic marking installation guide. Following guidelines from playground safety regulations uk keeps you compliant and safe.
Ongoing care and upkeep
Regular inspections catch small issues before they grow. Sweep debris and wash the surface with mild detergent as needed. If edges lift, you can heat-repair them with a hot air gun. Over time you may need minor touch-ups but overall the process is straightforward and cost effective.
Quick recap and next steps
- Understand how thermoplastic works and why it outlasts paint.
- Plan your logo to support both branding and learning.
- Choose quality materials with long-term guarantees.
- Follow safe installation steps and maintain your surface regularly.
With these steps you can deliver a safe, engaging playground that reflects your school’s identity. You’ve got this, and the durability of thermoplastic markings will keep your space vibrant for years. When you’re ready, talk to Project Playgrounds to explore custom solutions backed by a 10-year guarantee and over 1500 successful school transformations.