
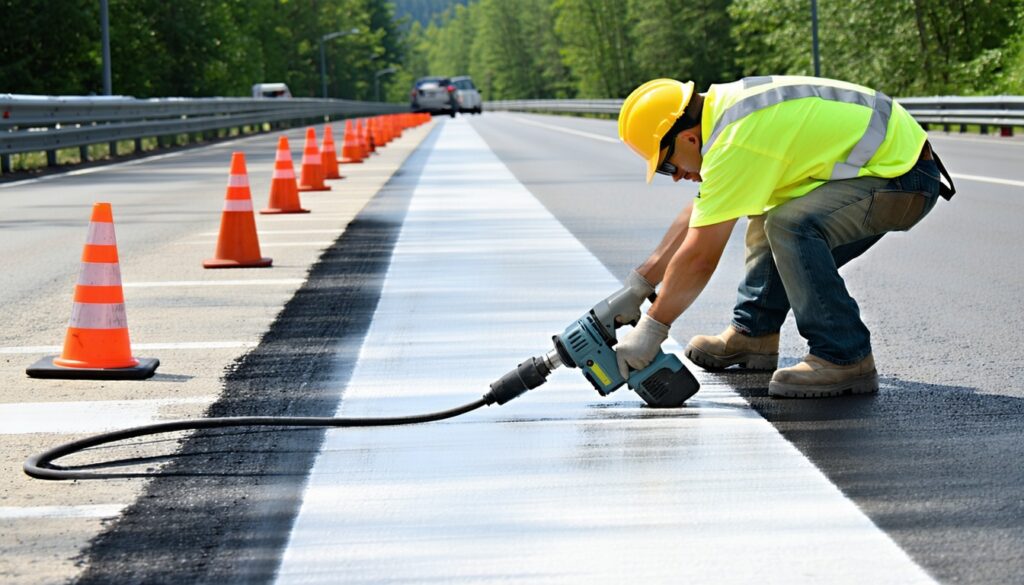
Nearly every primary and secondary school playground needs clear, durable markings to boost safety and learning. This thermoplastic marking installation guide walks you through each step to prepare your surface for vibrant, long-lasting lines. In over 1 500 schools across the UK and Europe, managers have chosen thermoplastic markings for their bright colours and UV resistance (Project Playgrounds). Good news, with thorough surface prep you’ll cut installation time and enjoy a finish that can last up to a decade (see thermoplastic lifespan uk).
Key idea: thorough preparation—assessing, cleaning, repairing, and planning—lays the groundwork for a safe and compliant thermoplastic installation.
Assess playground substrate
Before you lay any markings, inspect the existing surface. Thermoplastic adheres best to clean, solid substrates like tarmac or concrete. Walk the entire area and note:
- Cracks deeper than 5 mm or wider than 3 mm (they can cause uneven adhesion)
- Loose gravel, moss, or ponding water spots
- Oil stains or chemical residues (they repel thermoplastic)
- Surface slope and drainage patterns
Don’t skip this step (it’s where most fixes start). For detailed compliance requirements, cross-check with playground safety regulations uk.
Clean and repair surface
After assessment, you’ll spend most time here. First clear debris and contaminants:
- Remove loose stones and leaves with a stiff broom
- Pressure wash with at least 2 000 psi (test on a small patch)
- Treat oil or grease spots using a detergent or degreaser
- Allow the surface to dry fully (24–48 hours, depending on weather)
Next, repair damage:
- Fill cracks with a polymer-based filler (follow manufacturer cure times)
- Level minor potholes using a tarmac repair compound
- Sand down sharp edges or raised joints for a smooth finish
Good news, a clean, level substrate speeds up the thermoplastic application and boosts longevity.
Select thermoplastic materials
Your choice of thermoplastic compound and design affects safety, durability, and educational value. Consider:
- UV resistance, especially in sunny zones (see uv resistant thermoplastic playgrounds)
- Slip-resistant finish, critical around equipment and wet areas (see anti-slip thermoplastic safety coatings)
- Educational layouts, such as alphabets or numbers, for classroom-friendly play (see outdoor learning thermoplastic markings)
- Colour contrast, ensuring visibility for visually impaired users
If you need bespoke themes, ask for custom designs in your quote (many suppliers, including Project Playgrounds, can tailor patterns to your exact specifications).
Plan the installation process
Your plan covers these key actions:
- Schedule work for dry, mild weather (temperatures between 10–25 °C)
- Mark out designs with chalk lines or tape
- Gather tools: heating units, scrapers, measuring tools, and safety gear
- Assign roles: one person feeds the thermoplastic, another smooths the material, and a third handles edge details
- Leave a small buffer around drain covers and equipment to avoid coverage issues
Test a small sample patch first. That way you confirm adhesion and colour match before committing to the full playground.
Quick recap and next step
- Assess your playground surface
- Clean debris and repair damage
- Select the right thermoplastic materials
- Plan every detail of installation
Now you’re ready to bring your playground markings to life. Project Playgrounds has applied thermoplastic designs in over 1 500 schools, offering a 10-year guarantee on durable, vibrant colours. Choose one prep step to start today, and your play area will look safer and more engaging in no time. You’ve got this.